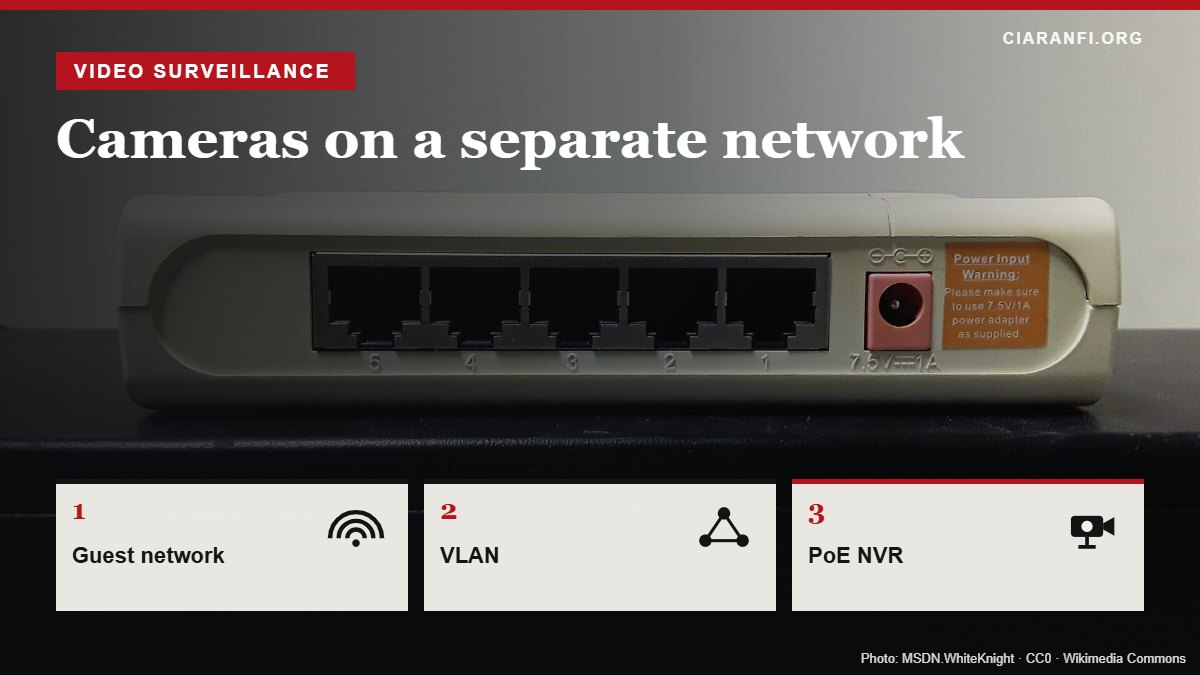
IP cameras are small Linux computers that stay on 24 hours a day, rarely get updates and, in many cases, talk constantly to cloud servers abroad. If one is compromised, the damage isn’t limited to the footage: from the same network an attacker can reach the PC with your documents, the NAS with the family photos, the printer, the TV.
The most effective countermeasure isn’t an antivirus but an architectural choice: put the cameras on a separate network from which they can’t see the rest of the house. Here are three ways to do it, from the simplest to the one serious installers use.
Option 1: the router’s guest network
Almost every home router has a guest Wi-Fi network, meant for visitors: devices on it can reach the Internet but not the main network. Moving Wi-Fi cameras to the guest network is a good first step and takes five minutes:
- open the router’s admin panel and enable the guest network, with a recognisable name (for example “Home-IoT”);
- make sure isolation from the local network is on (sometimes it’s called “Allow guests to access the local network”: that must be off);
- reconfigure the cameras from their app to join the new network.
The limit: this works well with cameras you only use through an app and the cloud, such as Tapo, Ezviz or Ring. If you have an NVR or a PC at home that records the cameras, the guest network will stop it, because isolation is its whole point. Some routers also isolate guests from each other, so two cameras on the guest network won’t see one another.
Option 2: an NVR with built-in PoE ports
If you’re planning a wired system, there’s an elegant solution many people overlook: an NVR with a built-in PoE switch. The cameras plug straight into the PoE ports on the back of the recorder, which powers them and creates a separate internal network for them. On Hikvision NVRs, for example, cameras connected this way get addresses like 192.168.254.x and don’t appear on your home network at all. Only the NVR, through its main network port, is connected to the router.
The result: from your home network you watch the recordings through the NVR, while the cameras have no contact with PCs and NAS. Two precautions:
- in the NVR menu, disable the P2P cloud service (Hik-Connect, Dahua P2P and similar) if you don’t need remote access, or use it knowingly, aware that it opens a channel to the outside;
- camera firmware updates will have to go through the NVR, because the cameras can’t reach the Internet on their own.
Option 3: a dedicated VLAN
This is the most flexible solution and the one I’d use for a mixed system with Wi-Fi and wired cameras and a recorder at home. A VLAN is a virtual network: different networks travel over the same cables and switches, and the router keeps them apart and lets them talk only according to the rules you set.
You need a router that handles VLANs and firewall rules (for example OpenWrt, OPNsense, pfSense, MikroTik, UniFi or Omada) and a managed switch, ideally PoE. The typical steps:
- Create the VLAN on the router, for example with ID 30 and the network
192.168.30.0/24, with its own DHCP server. - Assign the switch ports the cameras are plugged into to VLAN 30 as “untagged”. For Wi-Fi cameras, create a dedicated Wi-Fi network tied to the same VLAN.
- Set the firewall rules, which is where the real security is:
- the home network can reach the cameras (to view or configure them);
- the cameras cannot open connections to the home network;
- the cameras cannot reach the Internet, except the router’s time server (NTP), if you use a local NVR and don’t need the cloud;
- the NVR, if it sits on the camera VLAN, can have an exception to reach the Internet only if you need remote access.
- Reserve the cameras’ addresses in DHCP, so they don’t change after a reboot and the NVR always finds them.
How to check that isolation works
Configuring isn’t enough: you have to test it. Connect a laptop to the camera network or VLAN and try to:
pinga PC or the NAS on the main network: it must not reply;- open the NAS web interface in a browser: it must not load;
- browse the Internet, if you blocked outbound access: it must not work.
Then, from a PC on the main network, check you can still see the cameras. Finally, after a day, make sure the timestamp on the footage is right: if you blocked the Internet and forgot the NTP exception, the cameras will lose track of time, and a recording with the wrong time is worth little as evidence.
The other good habits
A separate network doesn’t replace the basics: change default passwords, disable UPnP on the router, don’t open ports to the cameras, and keep firmware up to date. But it’s the measure that limits the damage when everything else wasn’t enough. And given how most cheap cameras are built, sooner or later something won’t be enough.